Everything You Need to Know About a Backyard Observatory
For many astronomy lovers, one of the most inconvenient parts of stargazing is hauling equipment, setting it up, and packing it away after every viewing session. A backyard observatory can eliminate the need to haul heavy, expensive equipment back and forth every time you want to stargaze. With this structure, you can turn a once-in-a-while experience into a regular hobby when the sky conditions are right. Read on to learn about the Backyard Observatory’s features, where to place your observatory, how to plan the interior, ways to keep your equipment protected, and what to expect when ordering your own.
How Can a Backyard Observatory Create the Perfect Space?
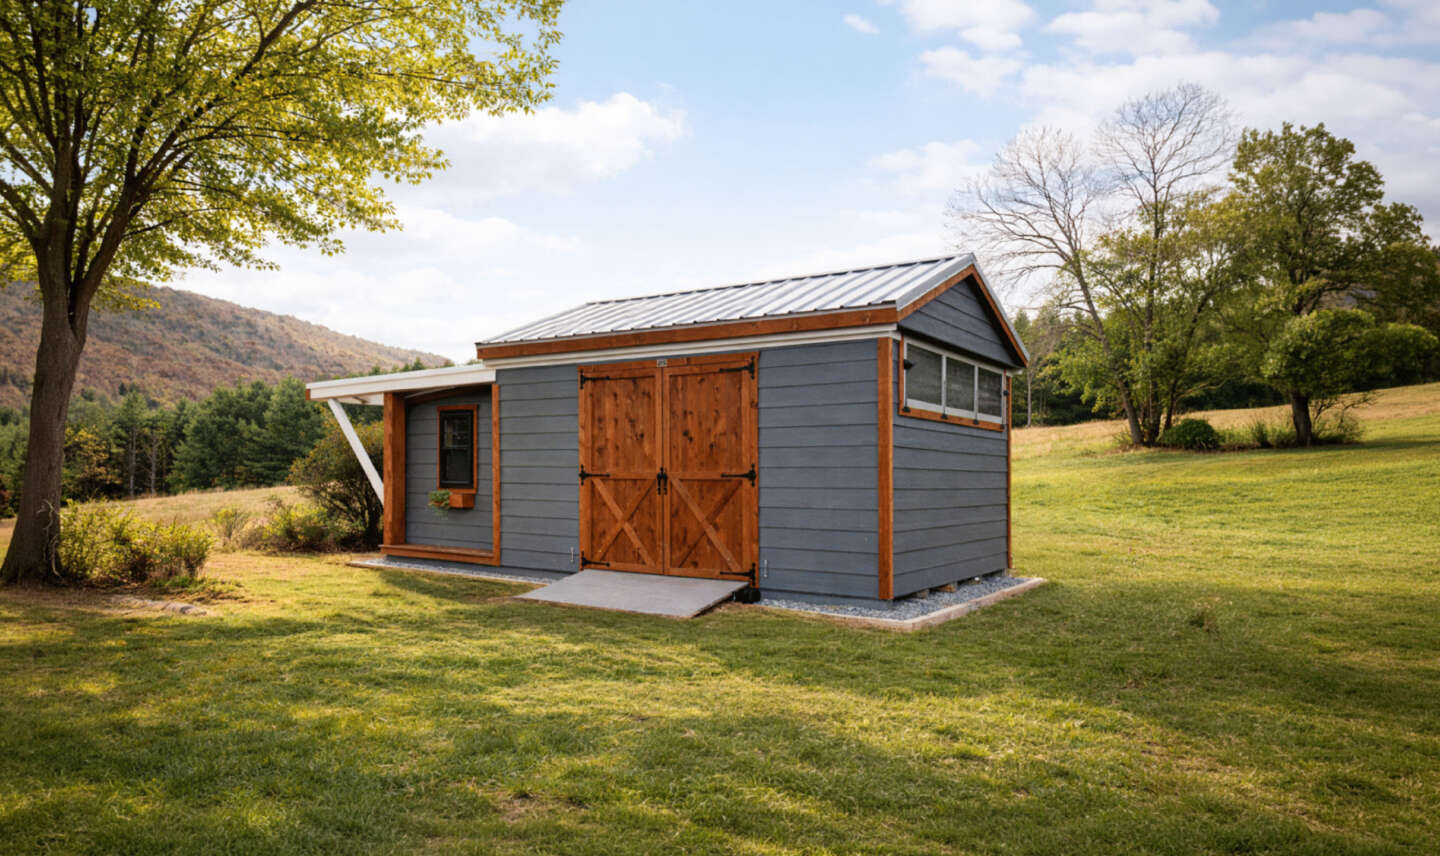
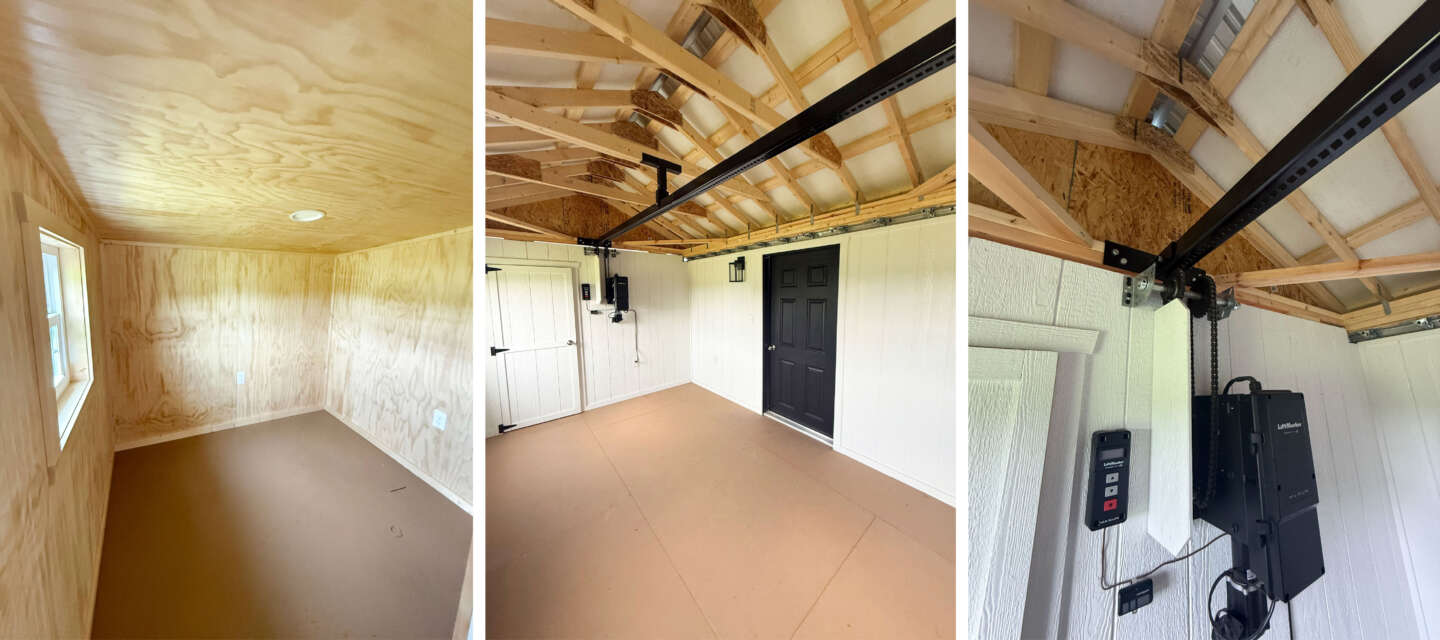
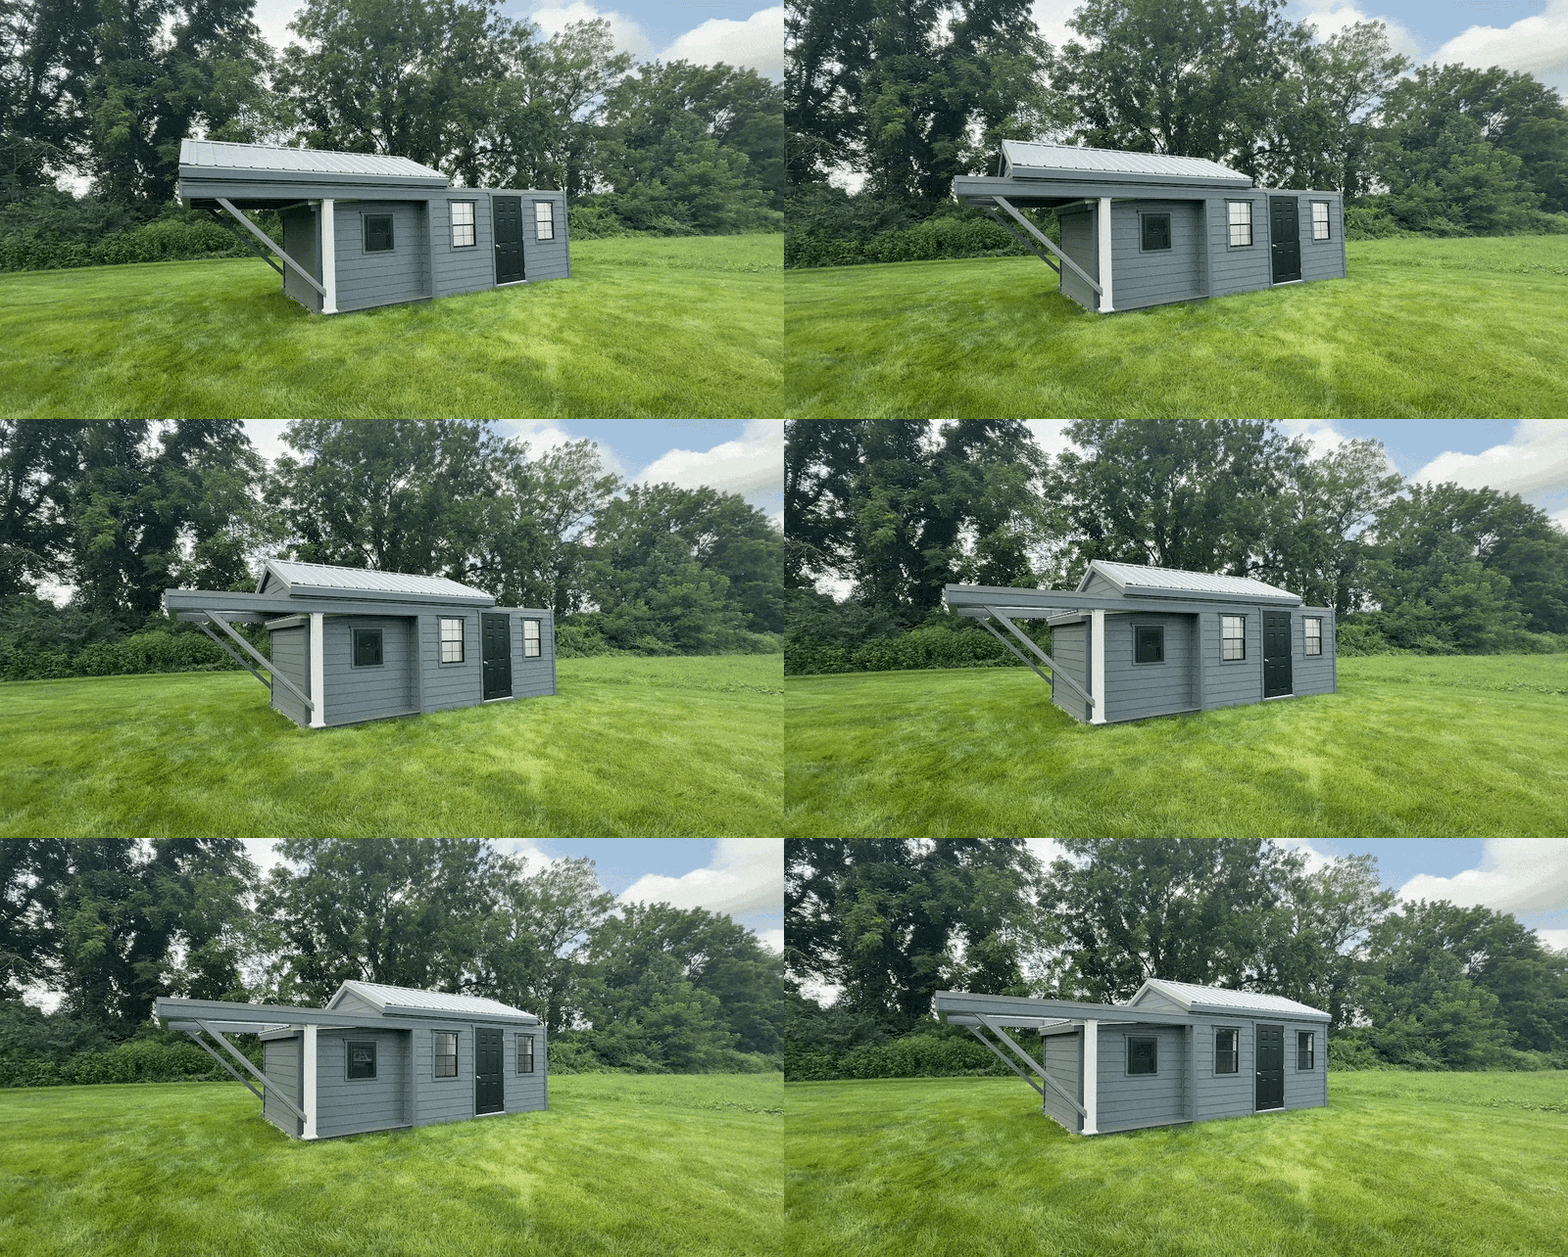
The Backyard Observatory has several features that make it a great year-round option for astronomy enthusiasts. This shed eliminates the time spent unpacking and setting up gear and provides a secluded and quiet space to watch the night sky. This structure was created by taking one of our popular sheds and adding a roll-off roof, electrical outlets, and a separate, closed-off space. Instead of manually lifting the roof, you can roll it open with the click of a button and easily close it again to protect your equipment. These structures come with our basic electrical package (70-amp breaker box, 2 lights, 2 switches, and 2 receptacles), a metal roof, two windows, an exterior deck, a warm room, and a galvanized roller on a track for the sliding roof. Walkthrough a Backyard Observatory HERE.
Backyard Observatory Location Considerations
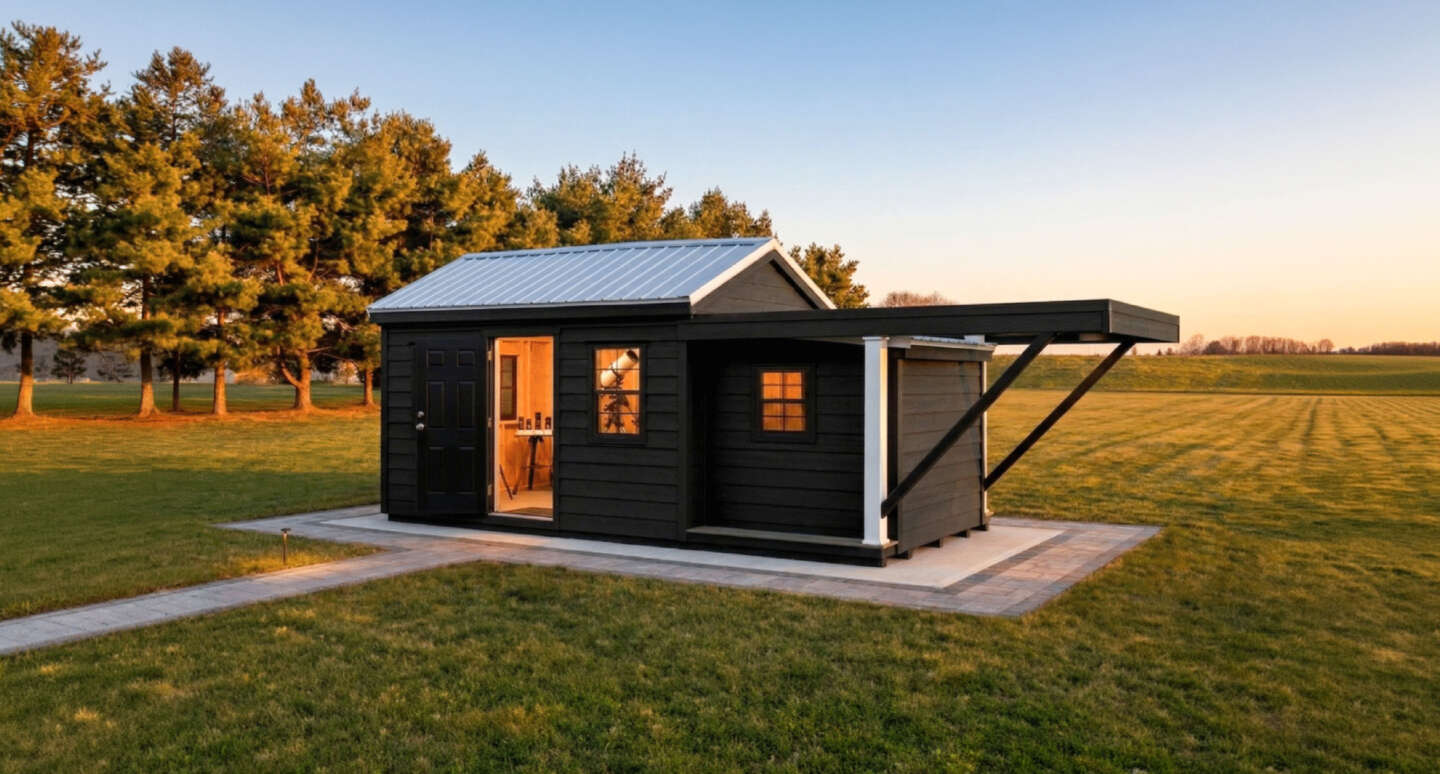
The placement of your Backyard Observatory is crucial for getting the best views of the moon, stars, and night sky. Find an open space on your property where there are no trees hanging over the shed or blocking potential views. Also consider light pollution, like nearby homes, streetlights, and cities, since all these could affect your visibility. Turning off your home’s exterior lights can also help reduce unwanted light and glare while using your astronomy equipment. Because the Backyard Observatory includes a rolling roof, lights, electrical outlets, and space for equipment that may require Wi-Fi or power, an electrical connection should be planned before delivery and setup.
How to Plan Your Observatory Layout
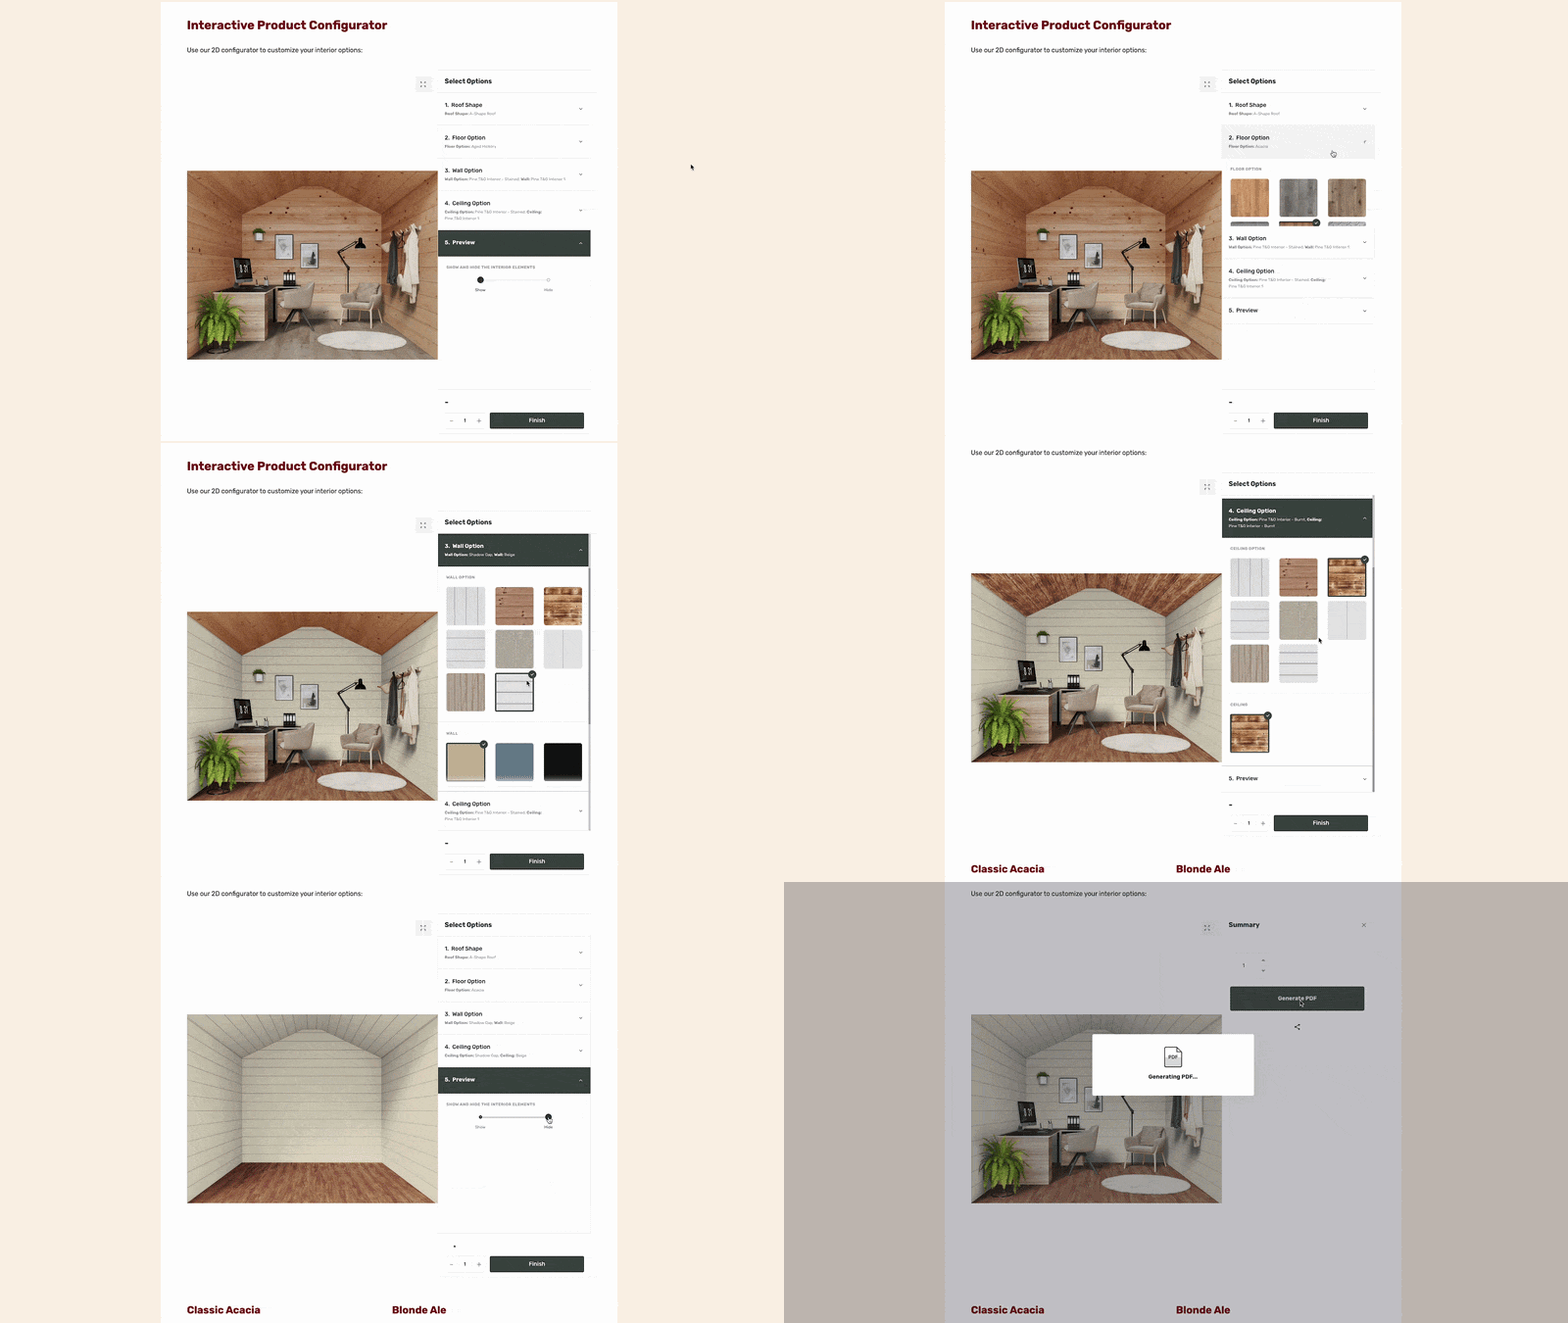
Our 2D tool can help you visualize what the inside of your Backyard Observatory could look like. Customize the floor, walls, and ceiling to create the perfect retreat in your backyard. The only option that is not customizable for this structure is the roof. The A-Frame roof is the only option available with this structure due to the rolling mechanics. To use this tool, visit our Backyard Observatory page and scroll to find the interior options. After you’ve created your perfect space, click “Finish” and generate a PDF for reference.
Make the Space Safe, Secure, and Comfortable
Astronomy equipment can be expensive, so keeping it safe is one of the most important considerations when planning your observatory. Keeping this equipment inside your home can take up space, especially if you have larger, bulky telescopes, cameras, mounts, star charts, etc. The Backyard Observatory provides a space to keep your equipment safe from rain, snow, wind, and cold temperatures, while keeping your home free of clutter and eliminating the need to haul it back and forth and assemble it every time. This structure also has a separate area, called a “warm room,” for astronomy equipment and to house any electronics that need to be kept safe from moisture and colder temperatures. In the main room, your telescope can remain set up, helping you maintain its alignment between viewing sessions.
Because the Backyard Observatory is based on one of our original shed designs, it also includes a lockable door to help keep your equipment secure. Not only can you store all your equipment inside the shed, but you can also add seating, storage shelves, a table or workstation, hooks, and more. The best thing about our structures is that they can serve multiple purposes. If you don’t need a separate warm room for equipment, use the extra room for general storage, like seasonal décor, children’s toys, etc.
How to Get a Backyard Observatory
Once you’ve decided on a Backyard Observatory, thinking about the next steps can feel overwhelming. Customizing your structure is the fun part, but terms like “site prep,” “delivery,” and “setup” can make the process seem more complicated than it actually is. Follow along below to see how you can go from an empty backyard to stargazing in just a few steps.
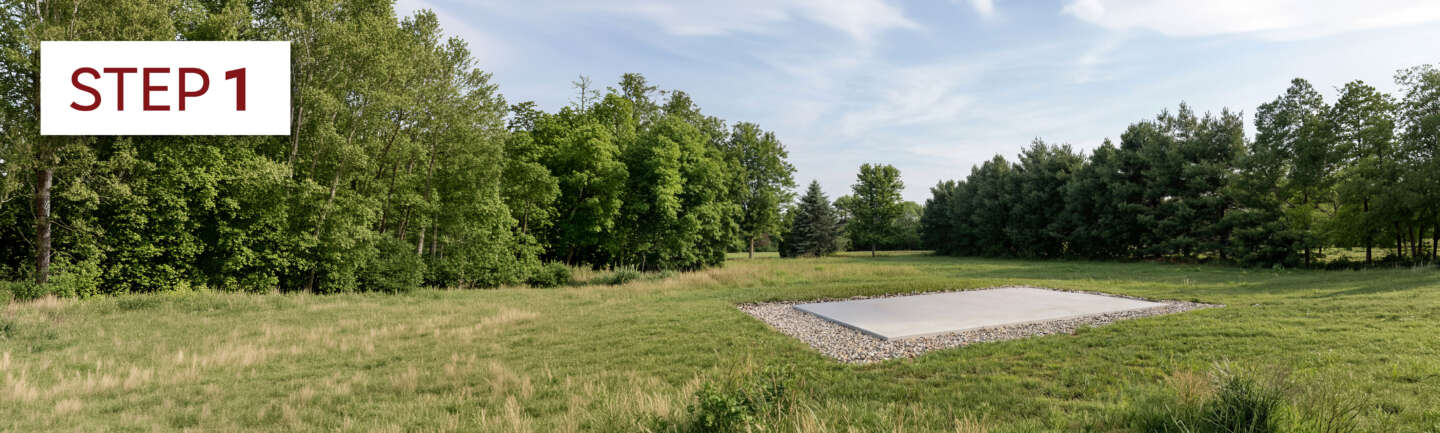
Having a level, prepared space for your Backyard Observatory helps ensure proper drainage, provides a stable base, and reduces the likelihood of settling. You can have site prep done by an external contractor, do it yourself, or, to make it easier, our team can complete this for you.
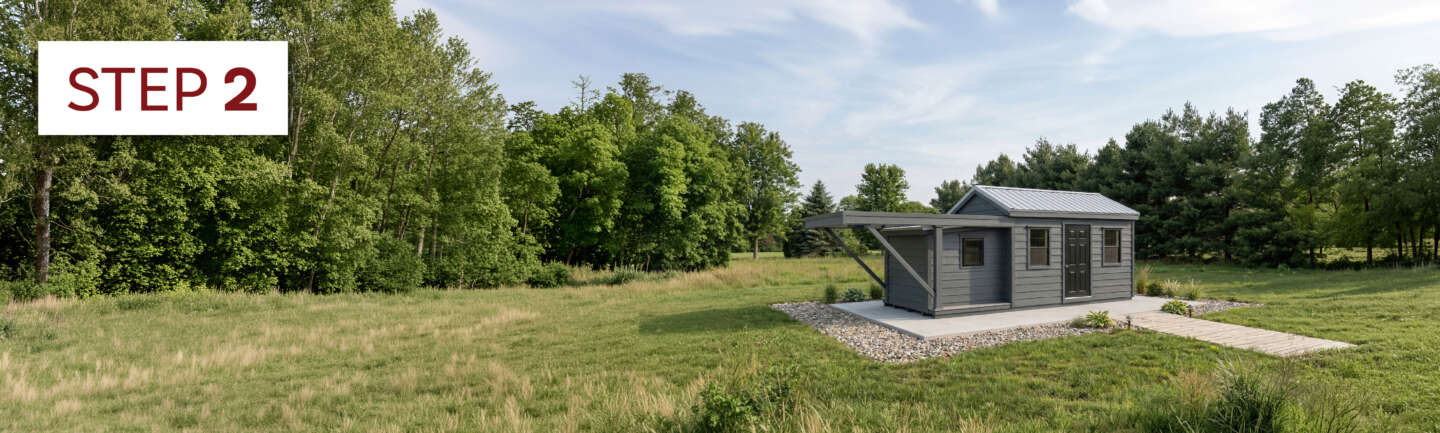
Let us handle delivery and setup. Our delivery crew can use a “mule” to efficiently maneuver your structure into its desired location. The placement of your structure will be determined during the ordering process, so site prep should be completed before delivery to help ensure a smooth and efficient setup.
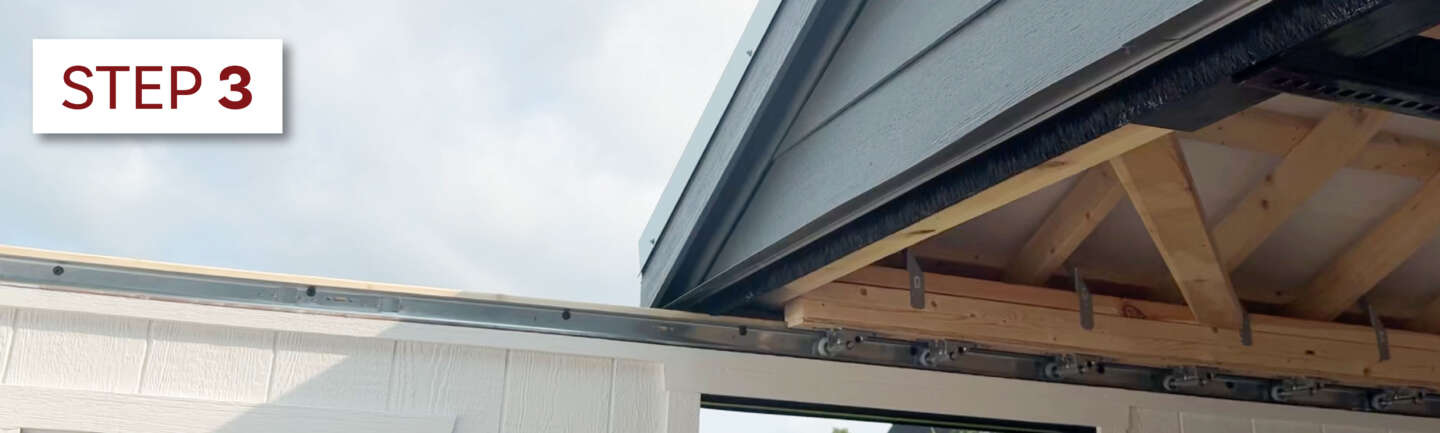
The key feature of this structure is the sliding roof that opens to the stars. With the simple click of a button, the roof slides open and can easily be closed again once you’re finished stargazing.
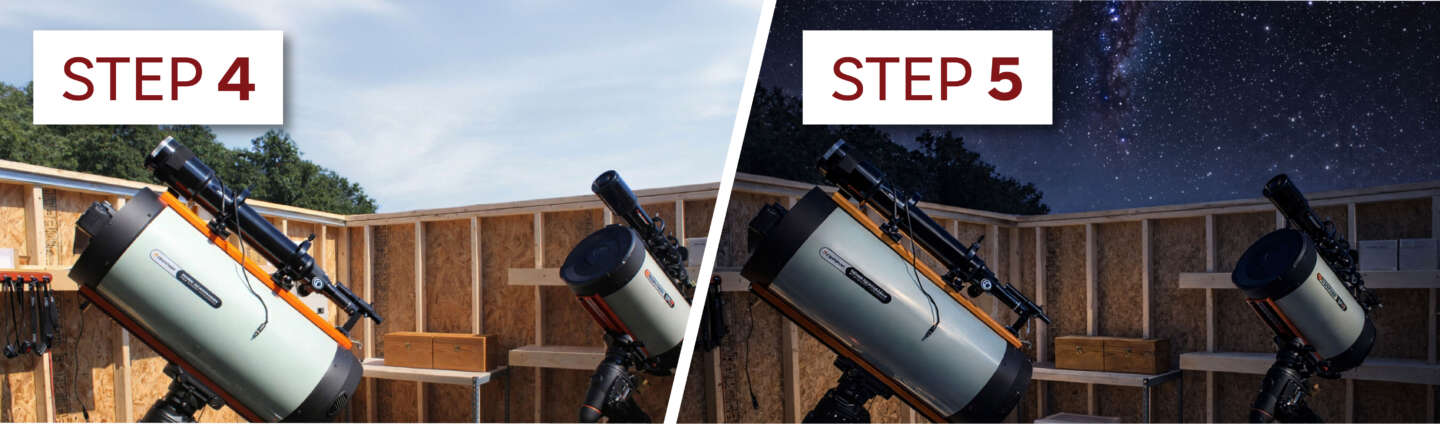
Your equipment can remain set up, so you don’t have to worry about repositioning and aligning it each night. Just open the roof, wait for the sun to set, and enjoy the night sky.
Contact us or call 610-593-7700 to learn more about the Backyard Observatory and available customization options.
 Jada Liney
Recently graduated from college, I take advantage of having more free time and spend those moments catching up on my love of reading, brainstorming ideas for design projects, and spending time with my family, friends, and furry companions. I have two Golden Retrievers that are complete opposites: one who has enough energy to run three marathons a day if he could, and the other who would be happy to stay in bed all day! I might relate a bit more to the latter, but am always up for an adventure.